1. Creating a Campaign
- Navigate to the 'Campaign' section and select 'New Campaign'.

2. Complete the required details: 'Campaign Name', 'Start Date', and 'End Date'.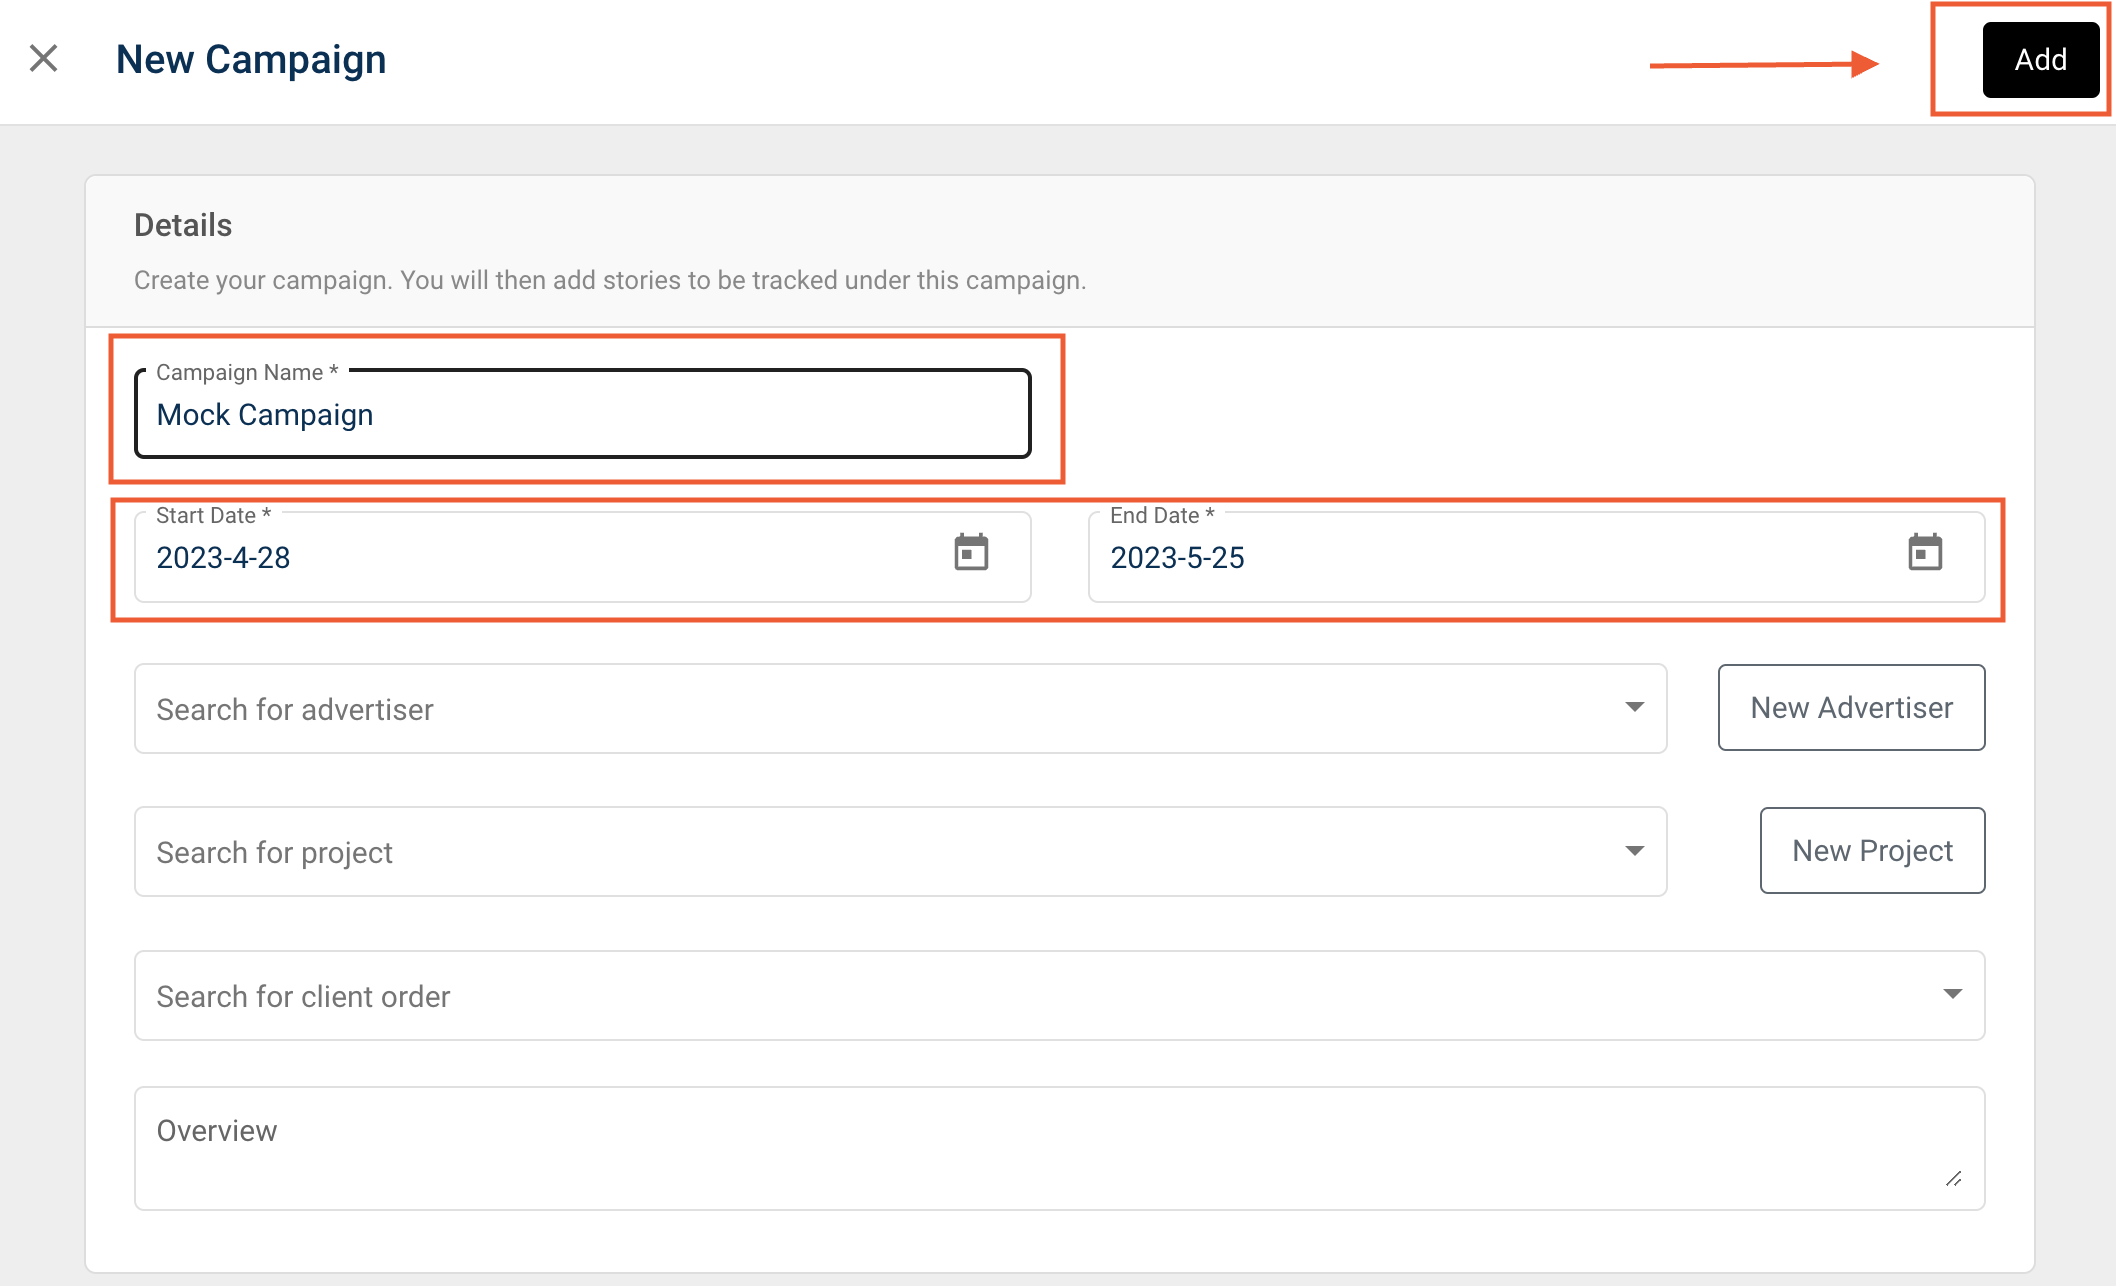
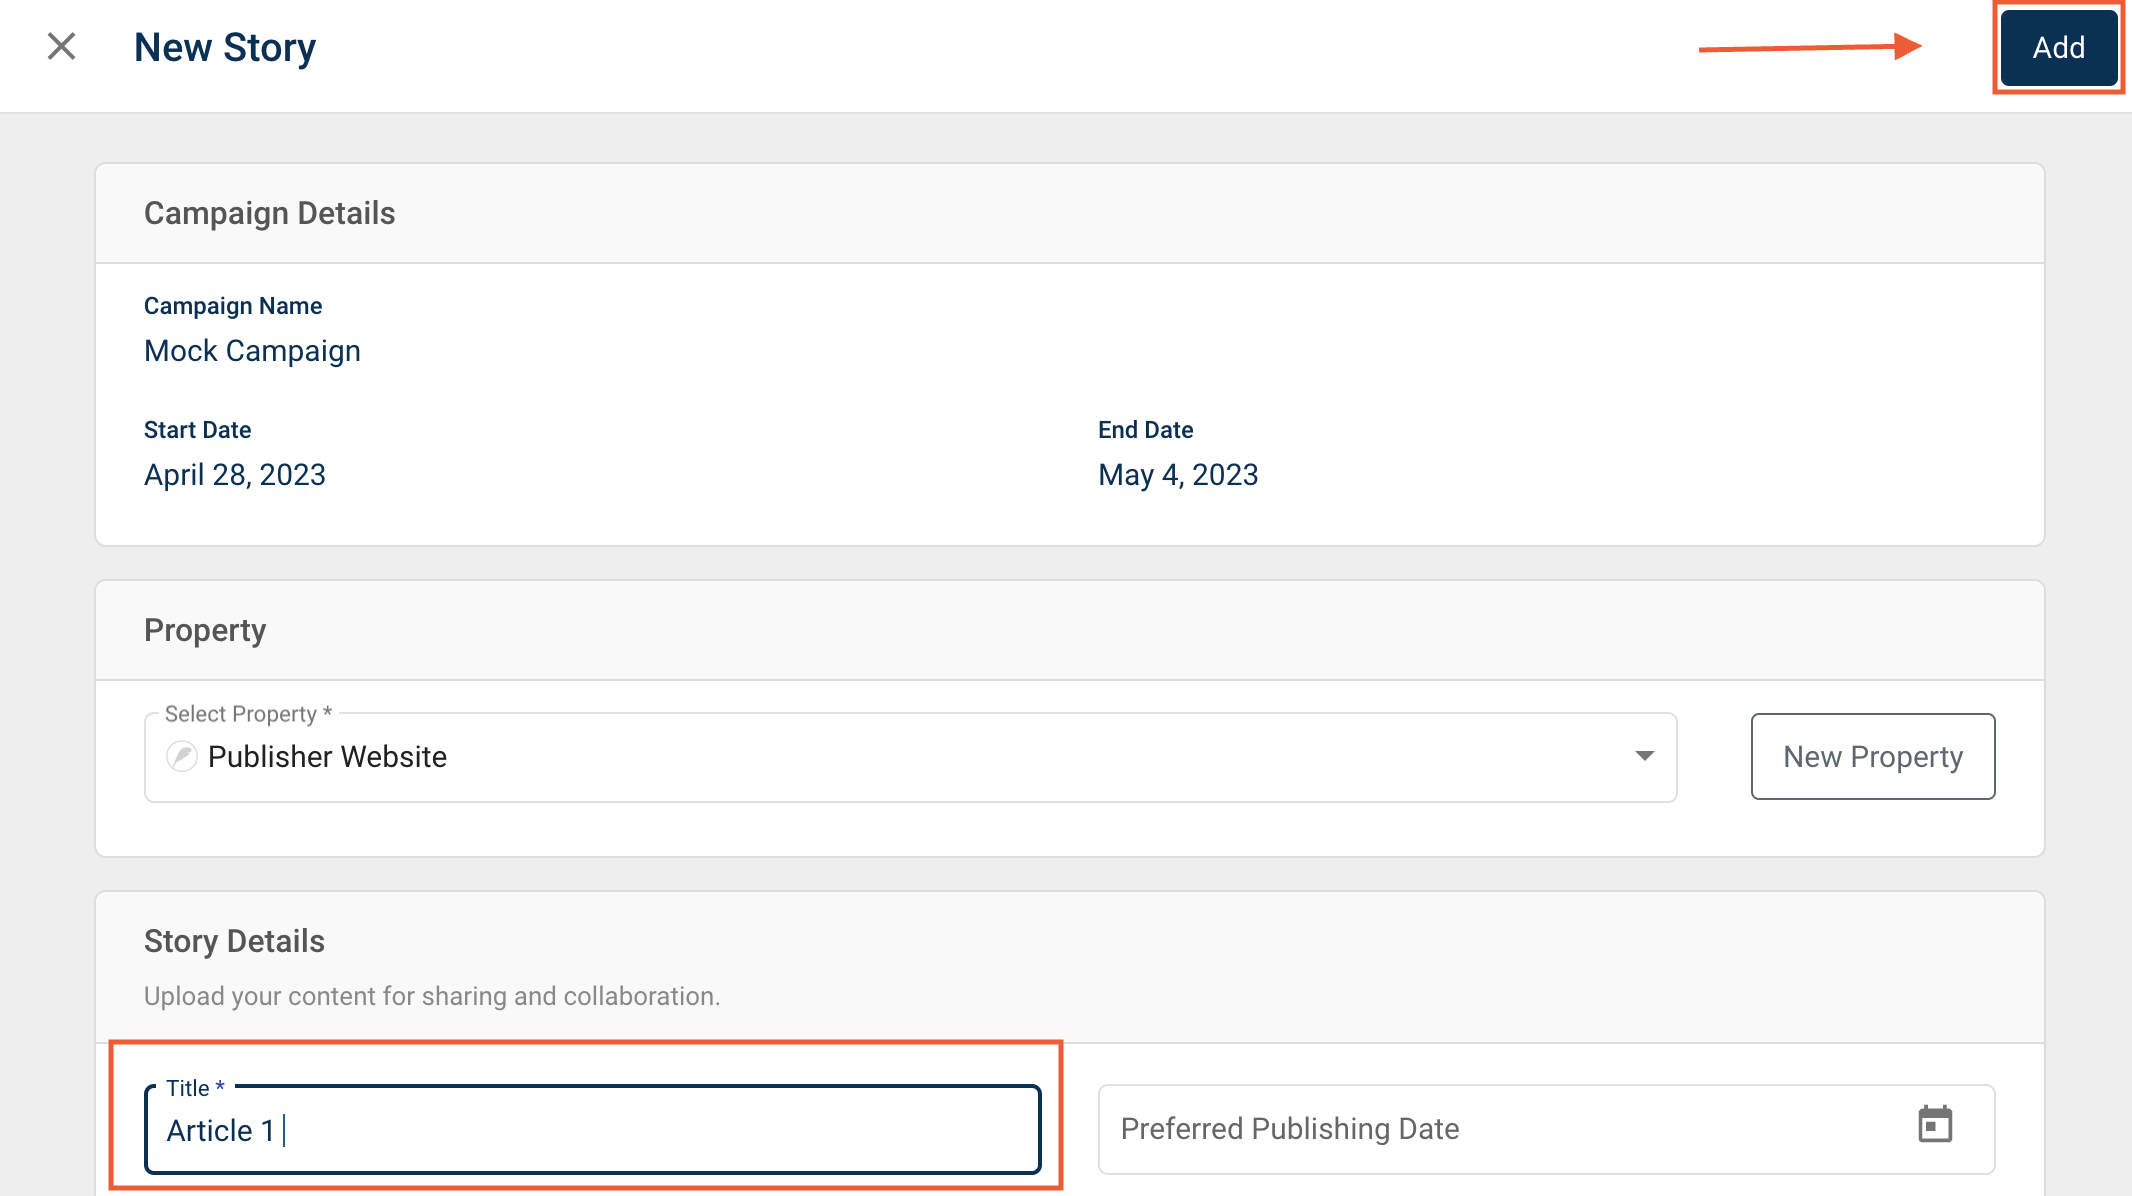
2. Adding a 'Story'
A 'Story' serves as a container of reports for a single piece of branded content or traffic driver.
- After creating the campaign, select 'Add Story'.
- Complete the required details, including selecting the 'Property' and providing a 'Title'.
- Click 'Add'.

3. Syncing Reports
Next, you will add the reports for the story.
- Click on 'Add Report' and select 'Content URL'.
- Input the 'Post URL' (the destination article URL to be tracked)
- Note: You can add multiple URLs here, however, a single Post URL can only be tracked once per campaign.
- Connect any other required data source reports for the campaign.
If a data source is missing, ensure the Data Source is connected in account settings.


4. Data Syncs & Validation
-
Allow up to 10 mins for the first sync to complete. The first run of data will be based on the Start/End dates of the Campaign. Learn more about our sync schedules here.
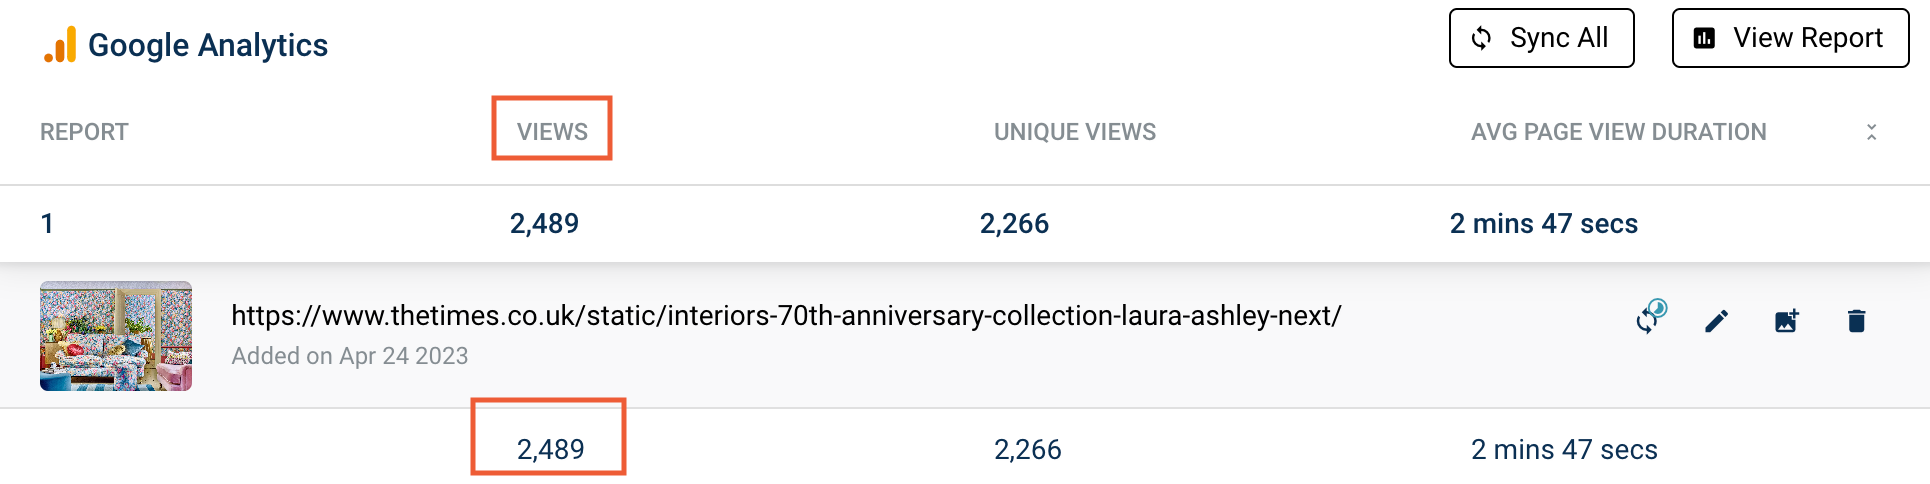
-
Compare the synced data to the data in the external platform (e.g., Google Analytics 4).
-
Validation Checks: Ensure you are comparing the same entity, that the campaign dates match, and that any applied filters have been removed in the native reporting view.
-
If the variance is significant (typically >15%), raise a query with your Customer Success Manager.
Refer to this guide to learn more about comparing data to native app reports.
Find out more on how to set up: